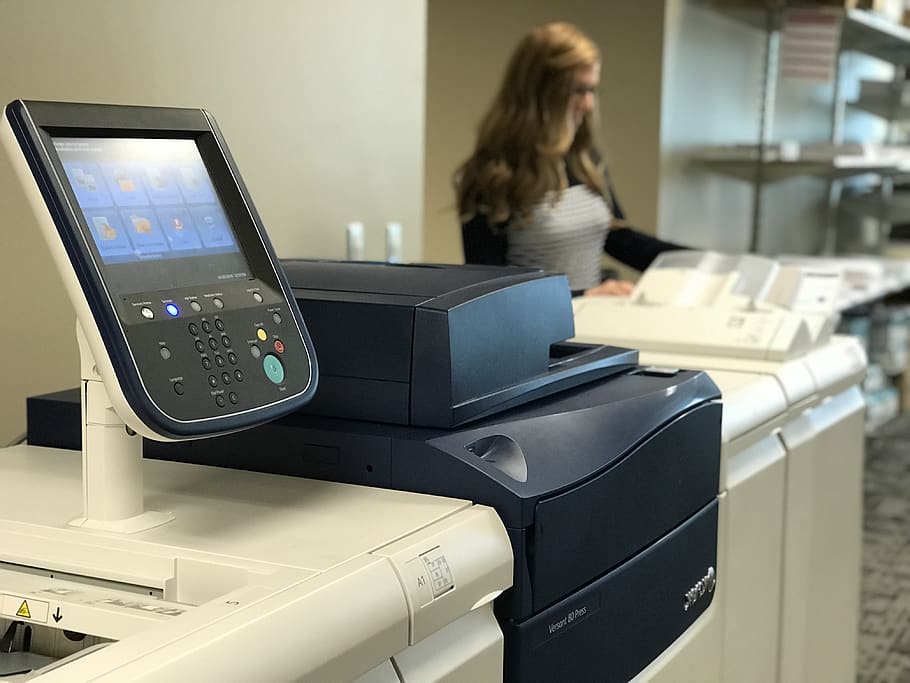
A filthy printer can be a root cause of various technical problems such as piled up dust, accumulated gunk, toner, ink, and other tiny particles resulting from smudged print jobs and endless paper jams. When an ink drips from a leaking cartridges stock up together on the interior parts, you will have a poor quality print. A congested inkjet printhead nozzle can cause their kind of disorder with regards to the quality of your print and can drastically affect the life of your printer machine. Therefore, having a clean printer has an impact on its lifespan and can save your money in the long run.
Here are some easy tips on how to clean your printer the right way and some helpful printer maintenance tips to keep your printer running seamlessly.
Before you Clean
But first, before you begin with your cleaning process, it is imperative to always check the documentation from its manufacturer. If not so, you might just harm your printer if you use and apply inappropriate cleaning supplies, and will cost you more on maintenance and repair charges.
First, it’s essential to remember that toner and ink residues left in your printer have nothing to do with regard to the performance of your printer. Thus, cleaning the essential parts is very necessary to reduce the risks. You can gently clean and as much as possible limit the cleaning to the paper rollers, printer exterior casing, printer cartridges, and printer heads only.
But if you want to clean or wipe the interior part, you need to use a microfiber cloth and distilled water. Above all else, turn off and unplug the printer from the power supply.
The Automatic Cleaning Utility Tool
Laser printers and Inkjet have a built-in utility that automatically enables cleaning the printhead. You can easily access this in so many ways. One of the most common steps is through launching your printer software and looking for the “clean” function. Just ensure to read and understand your printer’s user guide or manual for other options that may be possibly executing all through the button pad. The automatic cleaning process needs a blank sheet of paper and may consume some of your ink or toner of your printer as it functions the programmed cleaning phase.
Always remember not to turn off your printer while performing this task. When the cleaning process is complete and done, you can run a print test to determine if the process is successful. Reprint or repeat the whole process if needed. However, if somehow it does not affect or improve the quality of your printouts, it may be the perfect time to follow some of the cleanings steps below.
Cleaning the Paper Rollers
Piling up of dirt on your printer rollers is the root cause of paper jams. The role of rollers to your printer is that they are the tools that feed paper in and out. Therefore, they deserve the best maintenance to decrease the risk of misaligned print jobs and paper jams.
Before you clean the roller, you need to remove the paper on the tray, and then remove the tray. You might also need to remove the print cartridges assembly first; this will depend on the type and model of your printer. After that, clean out all the piled up dust or debris on the printer roller by simply vacuuming, wiping or brushing. However, when using a vacuum, you need to stick with a computer vacuum that is dedicated to cleaning your printer to avoid any further damages that may incur.
Another option is by using a blower to blow off all the dirt.
Computer Vacuum
Accumulation of dust can affect the overall quality of any of your printout jobs. A simpler and easy way to clean the inside of your printer is through the help of a computer vacuum to suck out all dirt traps inside like lint and hairs. Though it may seem to do it much easier, never use a can of compressed air. This spray moisture sometimes doesn’t combine well with other electronic components. If you are to vacuum your printer, vacuum out the fan vent to make your printer run smoothly without encountering any issues like overheating.
Cleaning the Printer Cartridge
Usually, a printer collects ink and waste toner most especially if you’re frequently using your printer over a period of time. In order to clean out all the waste ink, you need to remove the printer cartridge from your printer, after that, using an alcohol and a lint-free cloth, gently wipe the cavity clean. You can also use a water solution mixed with vinegar as an alternative. Make sure that you squeeze out any excess liquid solution before wiping. Meanwhile, if you have an inkjet printer, wipe out the cartridges to remove debris from the surface and clear the nozzle.
Cleaning the Printer Exterior
Using a wet cloth you can gently clean your printer exterior but make sure you squeeze the cloth to eliminate the excess water. Cleaning your printer exterior get rid of all accumulated dirt and dust on your printer surface. Make sure that you read and follow the manufacturer’s guidelines or manual when you are cleaning it to prevent any damages or breakages. Don’t force any parts to open, because it can potentially cause any fissure. Make sure that these compartments open naturally while cleaning it.
Bottom Line
If you clean your printer regularly it can have a positive impact on the printer’s life span and performance. Always read and follow your owner’s manual for some specific instructions since not all printers are built similarly.
Here at Inktonerstore.com, we provide a wide selection of the highest quality of printer needs like toner, ink, and supplies at a very satisfactory price. Visit Inktonerstore.com and save up to 85%.


